Synology has created one of the most amazing ease-of-use tools when requesting SSL certificates from Let’s Encrypt.
Navigate to the Control Panel > Security > and Certificate tab. Once here, you will usually have the basic Synology certificate by default. At this point, you can click the “Add” button to continue.

Select the “Add a new certificate” and select “Next” to continue.

Give your certificate a description, then select “Get a certificate from Let’s Encrypt.” If this is your default DDNS certificate, you can check “Set as default certificate,” then click “Next” to continue.

You will then enter your domain name, contact email, and if you have alternative names like www.domain.com. If this is your Synology DDNS certificate, you can use a wildcard like the one shown below.

Once Let’s Encrypt can verify your DNS information, a new certificate is created, as shown below.

If you are utilizing a reverse proxy to your Synology NAS, it may require certificates in multiple places, so be aware of this.
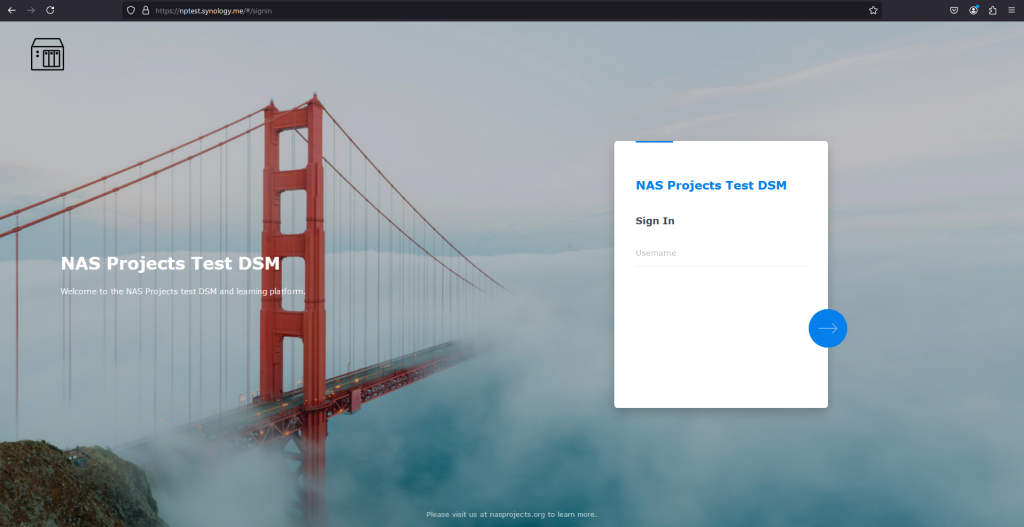
Once completed you should have a login page like this with an SSL certificate attached to your HTTPS.

Conclusion
Utilizing an SSL certificate for your Synology NAS is essential for securing data and protecting communications, especially when accessing the NAS remotely. SSL encryption ensures that sensitive information, such as login credentials and file transfers, remains secure from potential threats. Let’s Encrypt for your Synology NAS is particularly attractive because it provides free, automated, and trusted SSL certificates. This simplifies securing your NAS without additional costs or manual renewal tasks while offering the same level of encryption and trust as paid certificates. Overall, Let’s Encrypt enhances Synology users’ security, convenience, and cost-effectiveness.